Archive for 2014

Easy Flannel Baby Blanket

Wednesday, August 6th, 2014

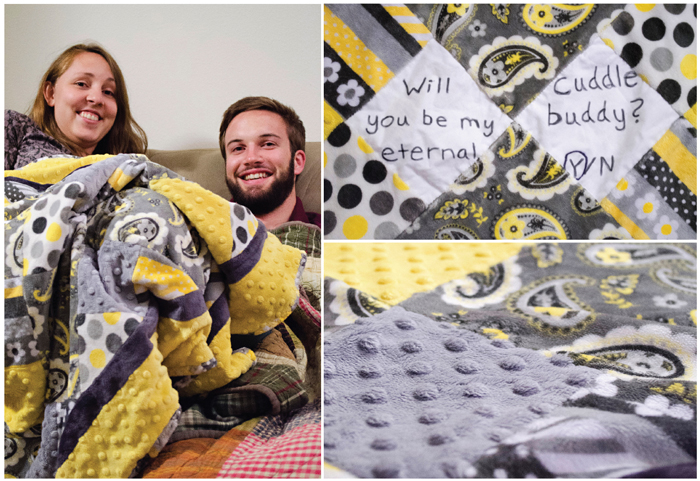
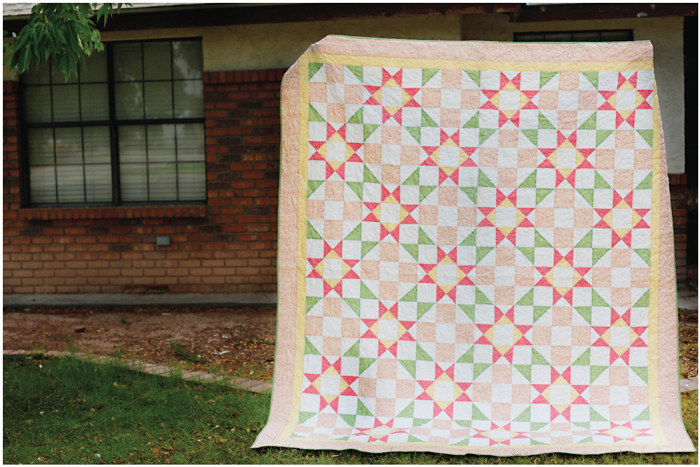
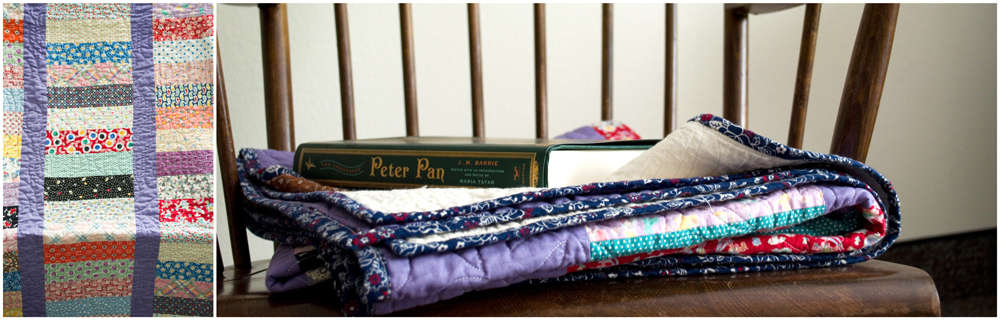
Get ready for the cutest, easiest flannel baby blanket ever! I love to make these, and moms love to have them!

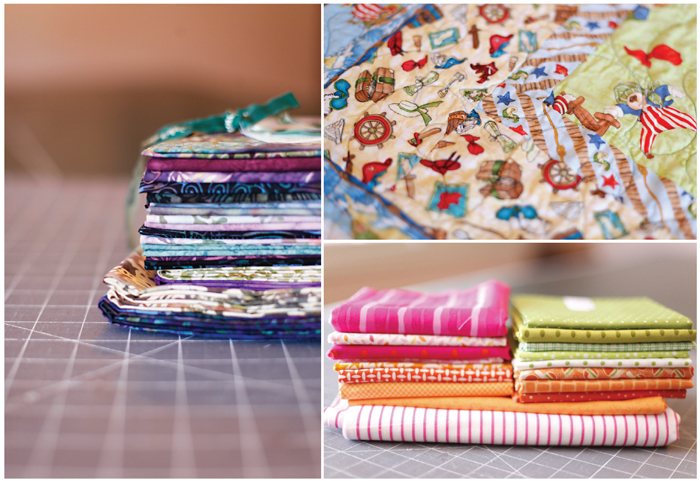
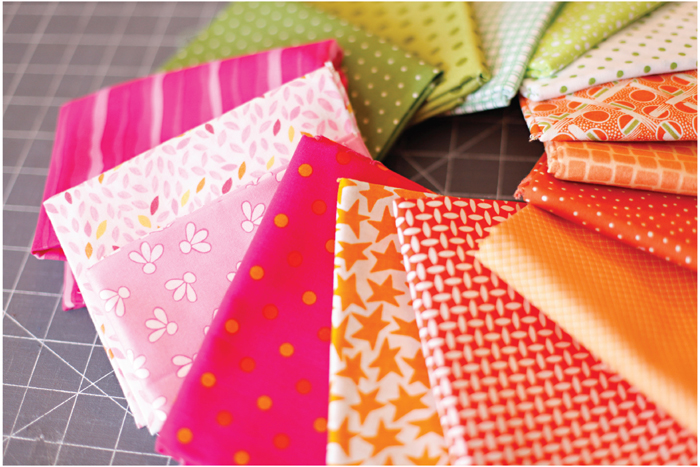
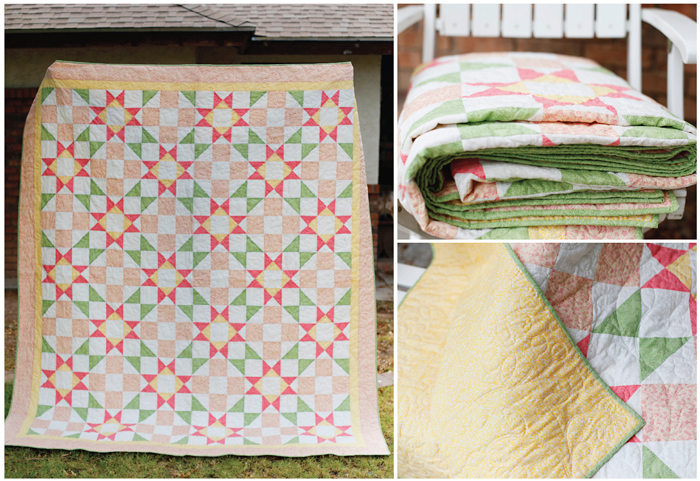
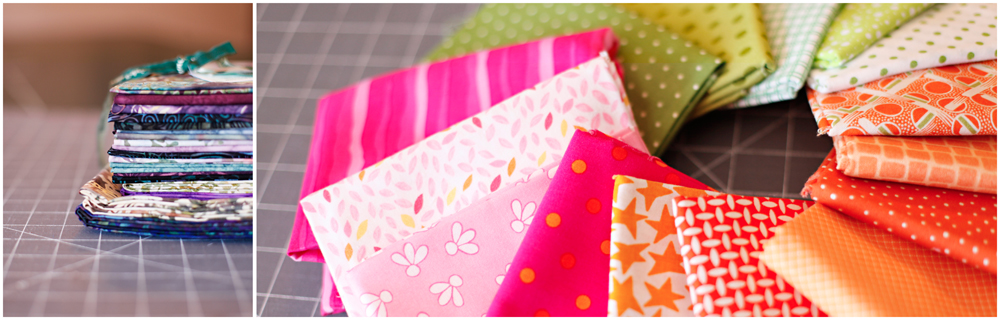
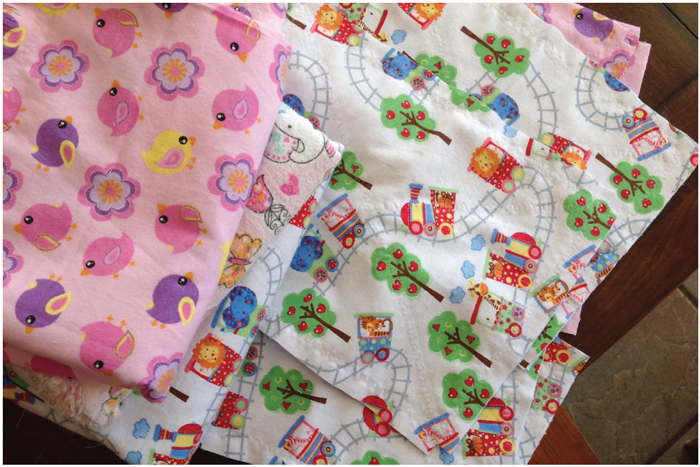
The requirements for this blanket are simple~you just need two one-yard pieces of complimentary flannel and a spool of white thread. The measurements for this quilt are approximations, and if you have less fabric it works just as well.

EBQ5

1. Lay the fabric out wrong sides together, matching the edges, and pin loosely.

EBQ1

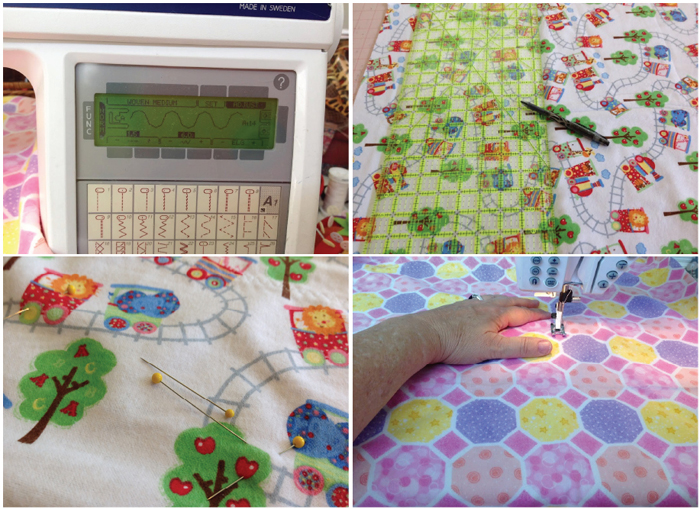
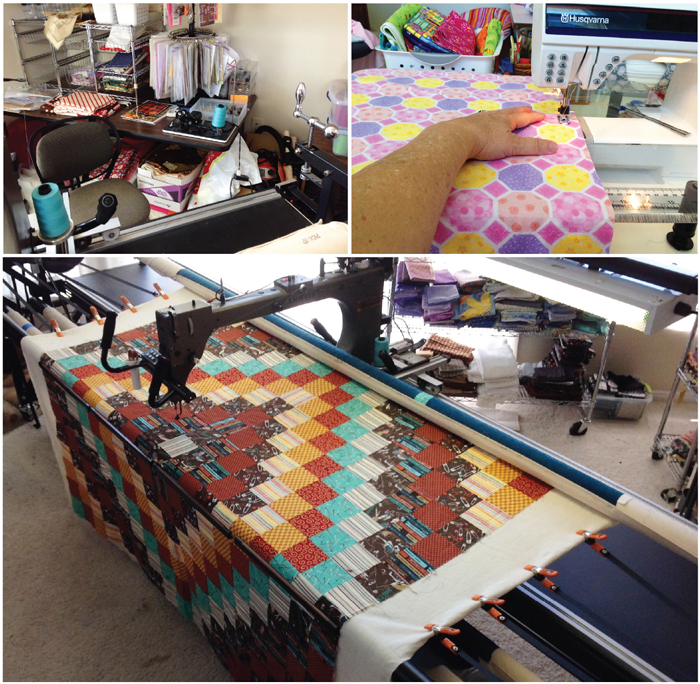
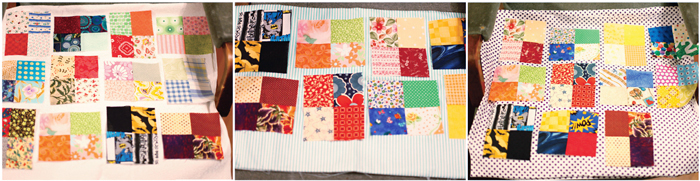
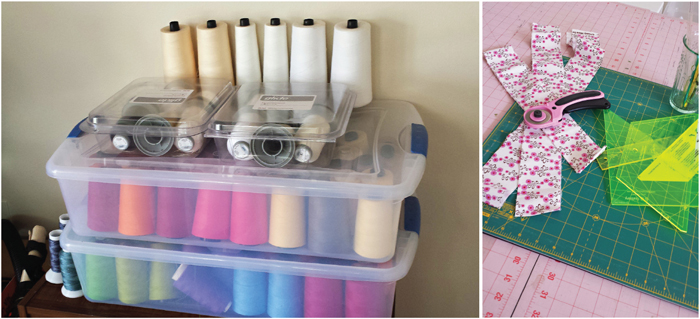
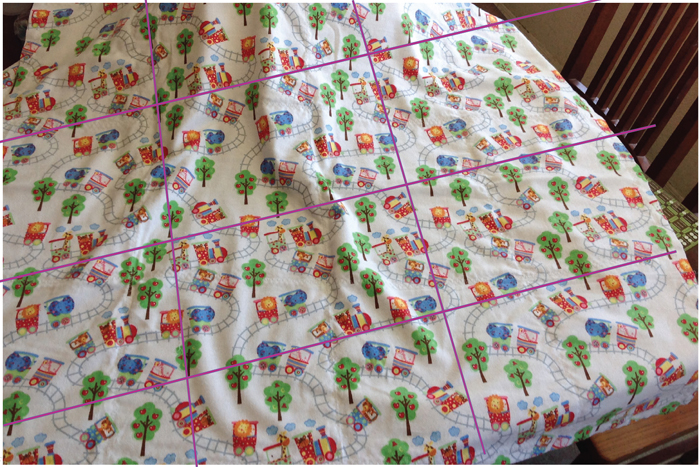
2. Use a erasable or Fusion pen to mark the sewing grid: 2 lines longways at 12 and 24 inches, and 3 lines across marking by folding the fabric in half and in half again. After marking the lines, pin along the sewing lines making sure that the fabric is as smooth and flat as possible.  (We just drew this grid on top of the picture to illustrate the lines~the blanket really needs to be flat and smooth.)  Or, if the fabric has a grid pattern (the pink blanket), you can use the lines on the blanket as your sewing lines.

EBQ3

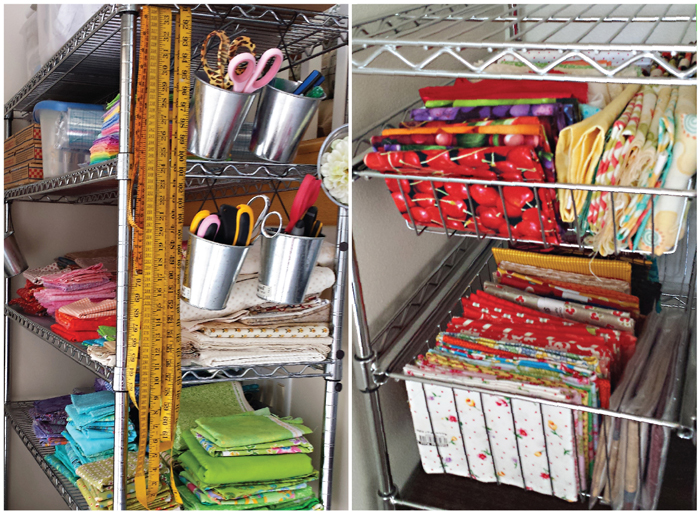
3. Using either a straight or decorative stitch, (I like this wavy stitch shown in the picture of my sewing machine above.) sew along the lines ending roughly one inch from the edge of the fabric. Be sure to keep the fabric as smooth as possible so as not to get tucks when you sew across the previously sewn lines. I sew the two long lines, from top to bottom first and then I sew the three lines across the blanket.

4. After sewing the grid lines, lay the flannel sandwich out on a cutting board and rotary cut around the edges so that both pieces of fabric are even.

5. Finish sewing down each edge of the fabric sandwich approximately one inch from the edge. (I use the edge of my throat plate as a guide on my machine.)

EBQ2

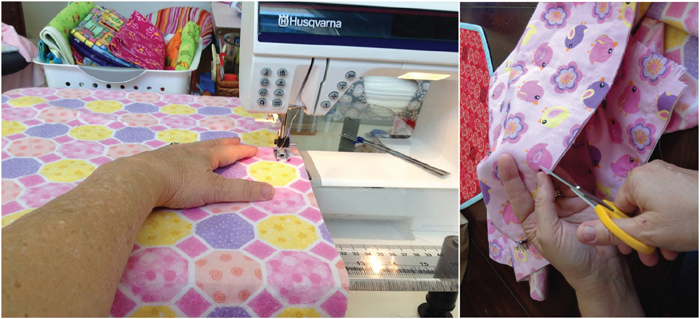
6. The sewing is done!  Now take a pair of sharp scissors, and cut a 1/2″ inch square in each corner of the blanket. Then clip along all edges of the blanket, and you are done!

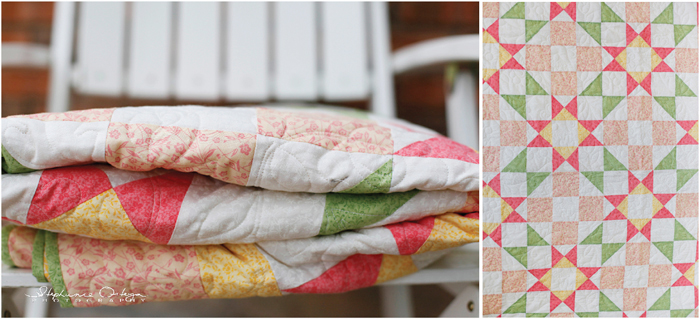
7. Wash the blanket before using or giving it away and the edges will fray nicely.

EBQ4

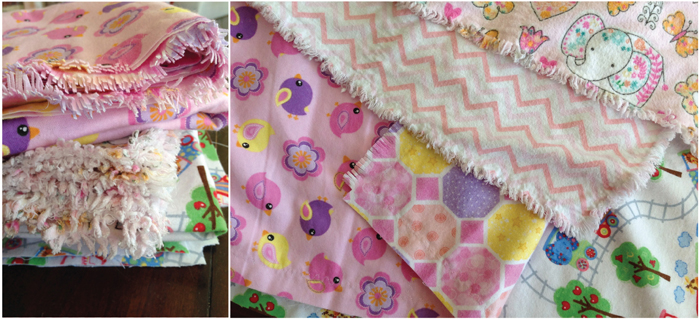
This is a fast and comfy blanket, especially handy for last minute giving! Happy Tuesday!Jaime

July Journey-ing

Sunday, August 3rd, 2014

This past month has been jam packed with family, fun, and travel. June 20th we took off for Oklahoma where our son and his wife live with our beautiful granddaughter, Kayli. We had fun times with them at the zoo, and then took off for parts unknown (to us).
Trip
Arrived in North Carolina two days later to help our son Darryl and family move around the corner to a new house. Even moving just a few hundred feet takes SO MUCH WORK! We had fun helping them move and now I can picture where they are living!  Great times in North Carolina, visiting Duke campus, and generally hanging out with our four grandchildren in NC. Then on to Virginia to help our daughter and her family move! It’s been a moving summer! Jessica and family have been in Fairfax for 9 years, and have moved south near Charlottesville where her husband will be working at the University of Virginia. We had so much fun with our six grandchildren in Virginia, and loved seeing their new home. So exciting for them to move from their townhouse bursting at the seams to a beautiful, large home on half an acre. Trip2
When we got back to Midway, Marg, Hilaree and I got to work on getting my studio into tip top shape, and I’ve been sewing and quilting ever since.  Alex, Jeff’s daughter, saw the fish with lips fabric and had to have some pj’s using the fish fabric!  The last four days in Midway I have managed to get five quilts long-arm quilted as well as sewing on three other quilts. It’s been lots of fun, and great to get back to quilting, sewing and long-arm quilting!   Trip3

More moving this weekend, as we helped our son, Jeff, and family move to Midway for the interim between college and job. And back to Mesa on Monday for us!
Happy Saturday!Jaime

Quilting Romance

Wednesday, July 30th, 2014

It all started when I saw a “Boyfriend” quilt at the American Quilting store in Utah. It was love at first sight! This quilt was just a basic square block quilt. I was excited and decided to make it. I have always loved plaids and gingham and so I decided to give it a western theme. I then renamed the quilt my “Cowboy” Quilt, and decided that my future “tall dark and handsome” could maybe be a cowboy. I mean really who doesn’t like tight jeans and boots!!? When designing my quilt I also added more rows as well as added borders. This quilt was the easiest quilt to make. It’s simple and straightforward. The hardest part was laying it out. It is my favorite quilt I’ve made so far.
MKQ1
I often joked that this quilt was for my future husband, which was very forward thinking of me since I didn’t even have a boyfriend at the time. however, whomever he was he was going to become the lucky owner of a very cool quilt. That was back in 2010.
MKQ2
Three years later I met Dan and we started dating. He is tall dark and handsome but no cowboy. When we started to talk marriage I told him my cowboy quilt would be his if we got married. (I think that’s what sealed the deal.) After visiting his family for Christmas we went on a drive together. He drove us to a scenic view, said I had to stand up, and gave me a pillowcase with something inside. Not exactly the ring box I was hoping for! To my surprise inside was a quilt he had made with his mom. A quilt asking me to marry him. The quilt says “Margaret will you be my eternal cuddle buddy? Y/N ~Dan” I circled the “Y”. It was very original and pleasantly unexpected. Dan, with the help of his mom and sister, came up with the idea to do a quilt because knowing how much I like crafts, Dan wanted to do something crafty. It was the first quilt he’d ever sewn. He chose the fabric well, it’s cute and completely made of Minky, the soft, plushy material perfect for snuggling with. (So of course I said yes.)
MKQ3
Now we are living happily ever after in our apartment and finishing our undergraduate degrees together. And we often use these quilts for cuddling and watching movies together. It’s great because we’ll have these quilts, and eachother other, forever. Happy Wednesday!
Margaret

Eeny Meeny Miny Moe…

Saturday, July 26th, 2014

Which one to use I just don’t know. Eeny meeny miny moe.

Choosing fabric can sometimes feel like a difficult task. You are about to spend tons of time on creating this work of art and once you start cutting out and sewing together you are pretty stuck with your choices. There are things to do that can make the process easier.
Choose3

When I am choosing fabric for a new quilt I try to think about a few things including; the quilt pattern ~ meaning the size and shape of the pieces and the way they will fit together, the fabric print & aspect ratio ~ so if it is a huge print or a polka dot that is spaced very far apart (in my opinion that print is wasted on a quilt with very small pieces). I think about color ~ I sometimes want a range of colors and sometimes I want the colors all in the same family, Lights and darks ~ some patterns are highlighted better by the use of lights and darks and some are beautiful when more monotone in hue. The majority of these choices are determined by the feeling and purpose I want my quilt to have. Do I want it to be; Sweet? Edgy? Peaceful? Bold? Fun? Scrappy? For picnics? For reading? To cuddle? For holiday fun?

choose4

There’s a lot to think about when planning a quilt. One of the easiest ways to decide is just find a line of fabric that you love. The designers usually include big and small prints, lights and darks, patterns and solids in each line. Sometimes a fabric line that I love has inspired a quilt. Another helpful tool in choosing fabric are great programs that give you the chance to put colors and fabrics together and into the actual quilt pattern. These give you a better idea of what your quilt will look like. However always remember that, whether coloring it on paper or designing it on the computer, The real quilt will look different and more raw than a rendering.

I am currently in the process of making a quilt. Surprise!
So, I’m really excited to start this project. The quilt I am working on is a charm quilt (which means that every piece of fabric is different). There are 480 different pieces of fabric that I have accumulated over the years. I planned the quilt and then changed the plan. Once the plan changed I decided to add sashing (that’s when there are lines of fabric separating the blocks). For a while I was thinking white sashing to make the colors stand out more… or at least that was the idea. I got this awesome white on white fabric and when I put it next to the squares it looked SO BORING! So, what was I to do?
Choose2
My life since having children has been crazy and much more full of color. The color and life are bleeding into my style. I am in love with pattern and color. I began going through my fabric stash to find a sashing idea. I found two fabrics that I thought would be fun… a polka dot and a striped fabric. Harley was helping me decide. He was laying out his favorite squares and the backing he chose was the polka dots… My preference also. I took photos and texted them to my sisters for more opinions. I laughed when all four of us liked the same one. Polka dots! Great minds think alike… sometimes.
Choose
I love polka dots. I am excited for the outcome of this quilt. Let me know… What are the things you think about when choosing your fabric?Stephanie

5 steps to get excited to quilt! How I did it!

Wednesday, July 23rd, 2014

5stepsCompared to my sisters I was late to the quilting game. All my sisters had already made quilts of their own before I even considered the idea. I had the desire to quilt after seeing their end results, but lacked motivation. I didn’t quite know where to get started or how to get excited. I decided what the heck, let’s quilt, and found a sure way to become a quilting lover! There are a few steps that got me through my first quilt and I think they apply to every quilt!
1. Love your fabric. If you don’t like the fabric, you won’t like the quilt in the end. I chose 30’s inspired fabric that fit my personality.
HQ1
2. Go for simple. I used a simple strip quilt design and picked my fabric that was already matched and cut into strips (I used a jelly-roll). First quilt, Sew,cut,piece it together, sew the sashing and borders, but for sure make it simple!
3. Have help! There are so many resources for quilting; quilting blogs, stores, classes, the internet! I had my mother and sisters, I got lucky. HQ4

4. Enjoy the work (probably the most important step). Focus on what you enjoy. I love to design quilts and then piece it together. I don’t enjoy cutting fabric, so I got pre-cut strips of fabric that skipped that step. Also, I liked to listen to music as I sewed. I recommend John Taylor and Neil Diamond!HQ2

5. Professional finish. It’s worth it to hire someone to professionally quilt your finished top. Looks clean and polished. Again I was lucky, I had my mother and her long arm quilter, this massive machine in her garage that makes quilts look put together!
HQ3I am so proud of my first quilt. I loved making it! Follow these steps and you’ll love quilting too!

Happy Tuesday!
Hilaree

Quilting Studio Move

Sunday, July 20th, 2014

Earlier this summer we decided to move my quilt studio and its been a eye-opening experience.

Roompic2

For starters, moving can be a long drawn out process, and I have been unpacking for a week.  I’m still only a quarter of the way through my fabric stash.  Before the move, I stored my fabric in plastic bins (open, of course), but I decided to sort my stash by color in the new studio.  Except for the fabric for the twenty or so quilts that I have designed already in my head, I’m stacking.  And this is just the beginning.

RoomMoved

Scraps are one of the things that slow me down sometimes, because I have so many.  Every time I make a new quilt, I create more and more scraps. One of the things I’m excited to do once I’m all moved in, and have the fabric all sorted is to get those scraps organized and usable.  I’ve dreamed of the day that I would FINALLY be able to get a  quilt done fast, fast, fast.  That day is coming, thanks to  Bonnie Hunter’s Scrap User’s System from Quiltville.  Another post for another day~Happy Saturday!
Jaime

My First REAL Quilt (well… the first one I started)

Tuesday, July 15th, 2014

This is the first quilt I ever started.FQ1Throughout my youth, I had seen my mother make all kinds of pretty quilts and decided around 16 that I wanted to make one also. My mom helped me design the quilt in a new computer program she had. Once designed I did some math and we went to the store and purchased material. After we got home, I was all “Gung-ho” about making it, for about a week. I started cutting out the fabric but there were SO many pieces. Did I take on too much? This really was a time commitment… then my drive fizzled.
FQ2
At that time I think I thought this might be the only quilt I ever make so I had better make it good. In hind sight I probably should have chosen an easier pattern with less peices. Five years after starting my first quilt and after starting and completing two other quilts I finally got back on the boat and finished this quilt. I was so proud when it was finally done! It’s very imperfect… just look at those points… but I like it anyway.
FQ3
This quilt was finished eight years ago. Its a fun quilt and I will always love it because I designed it and it was my “first”. Now the quilt belongs to this sweet little girl. I hope she likes it. HS3
Happy Tuesday!Stephanie

Feeling Blue Quilt

Thursday, July 10th, 2014

Cloudy day in AZ… Clouds on the quilt, blue and white…

Those of you who are from Arizona can relate to the fact that rainy/cloudy days are not the norm, especially these last few years in AZ  even in the monsoon season. Ironically, my daughter called from AZ and told me that  today and yesterday have been overcast and rainy.  So here’s a quilt to brighten the day of anyone who is experiencing “the BLUES.”

BlueQuilt11

Last year I decided to make birthday quilts for all my in-law children, since I’d already made quilts for all of my children. So knowing that my son-in-law loves blue (thanks, Stephanie) I chose to make this striking quilt from the February 2013 American Patchwork and Quilting Magazine.

BlueQuilt12

Wanting to  add interest and contrast to the geometric lines of the quilt, I quilted Feeling Blue on my Statler Stitcher long arm machine, using a cloud design from the Statler Sisters group. Hope you like it! BlueQuilt13 Happy Thursday!Jaime